While many of us are fine with our rifle accessories and their natural finish, others are looking to add a little color to their range days. But when the usual collection of flat dark earth, olive, or grey handguards, grips, and stocks just aren’t offering you the custom look you want, then it’s time to get a little creative.
At some point, nearly every AR-15 owner has embraced their inner Bob Ross and taken a crack at their own rattle-can masterpiece. If you can operate a can of spray paint and have a modicum of artistic talent (or a stencil), you can attempt to touch up an AR 15 handstop. If you aren’t into doing anything too flashy and simply camouflaging your own rifle is more up your alley, you’re in luck! It’s easier to camouflage a rifle than it looks, too.
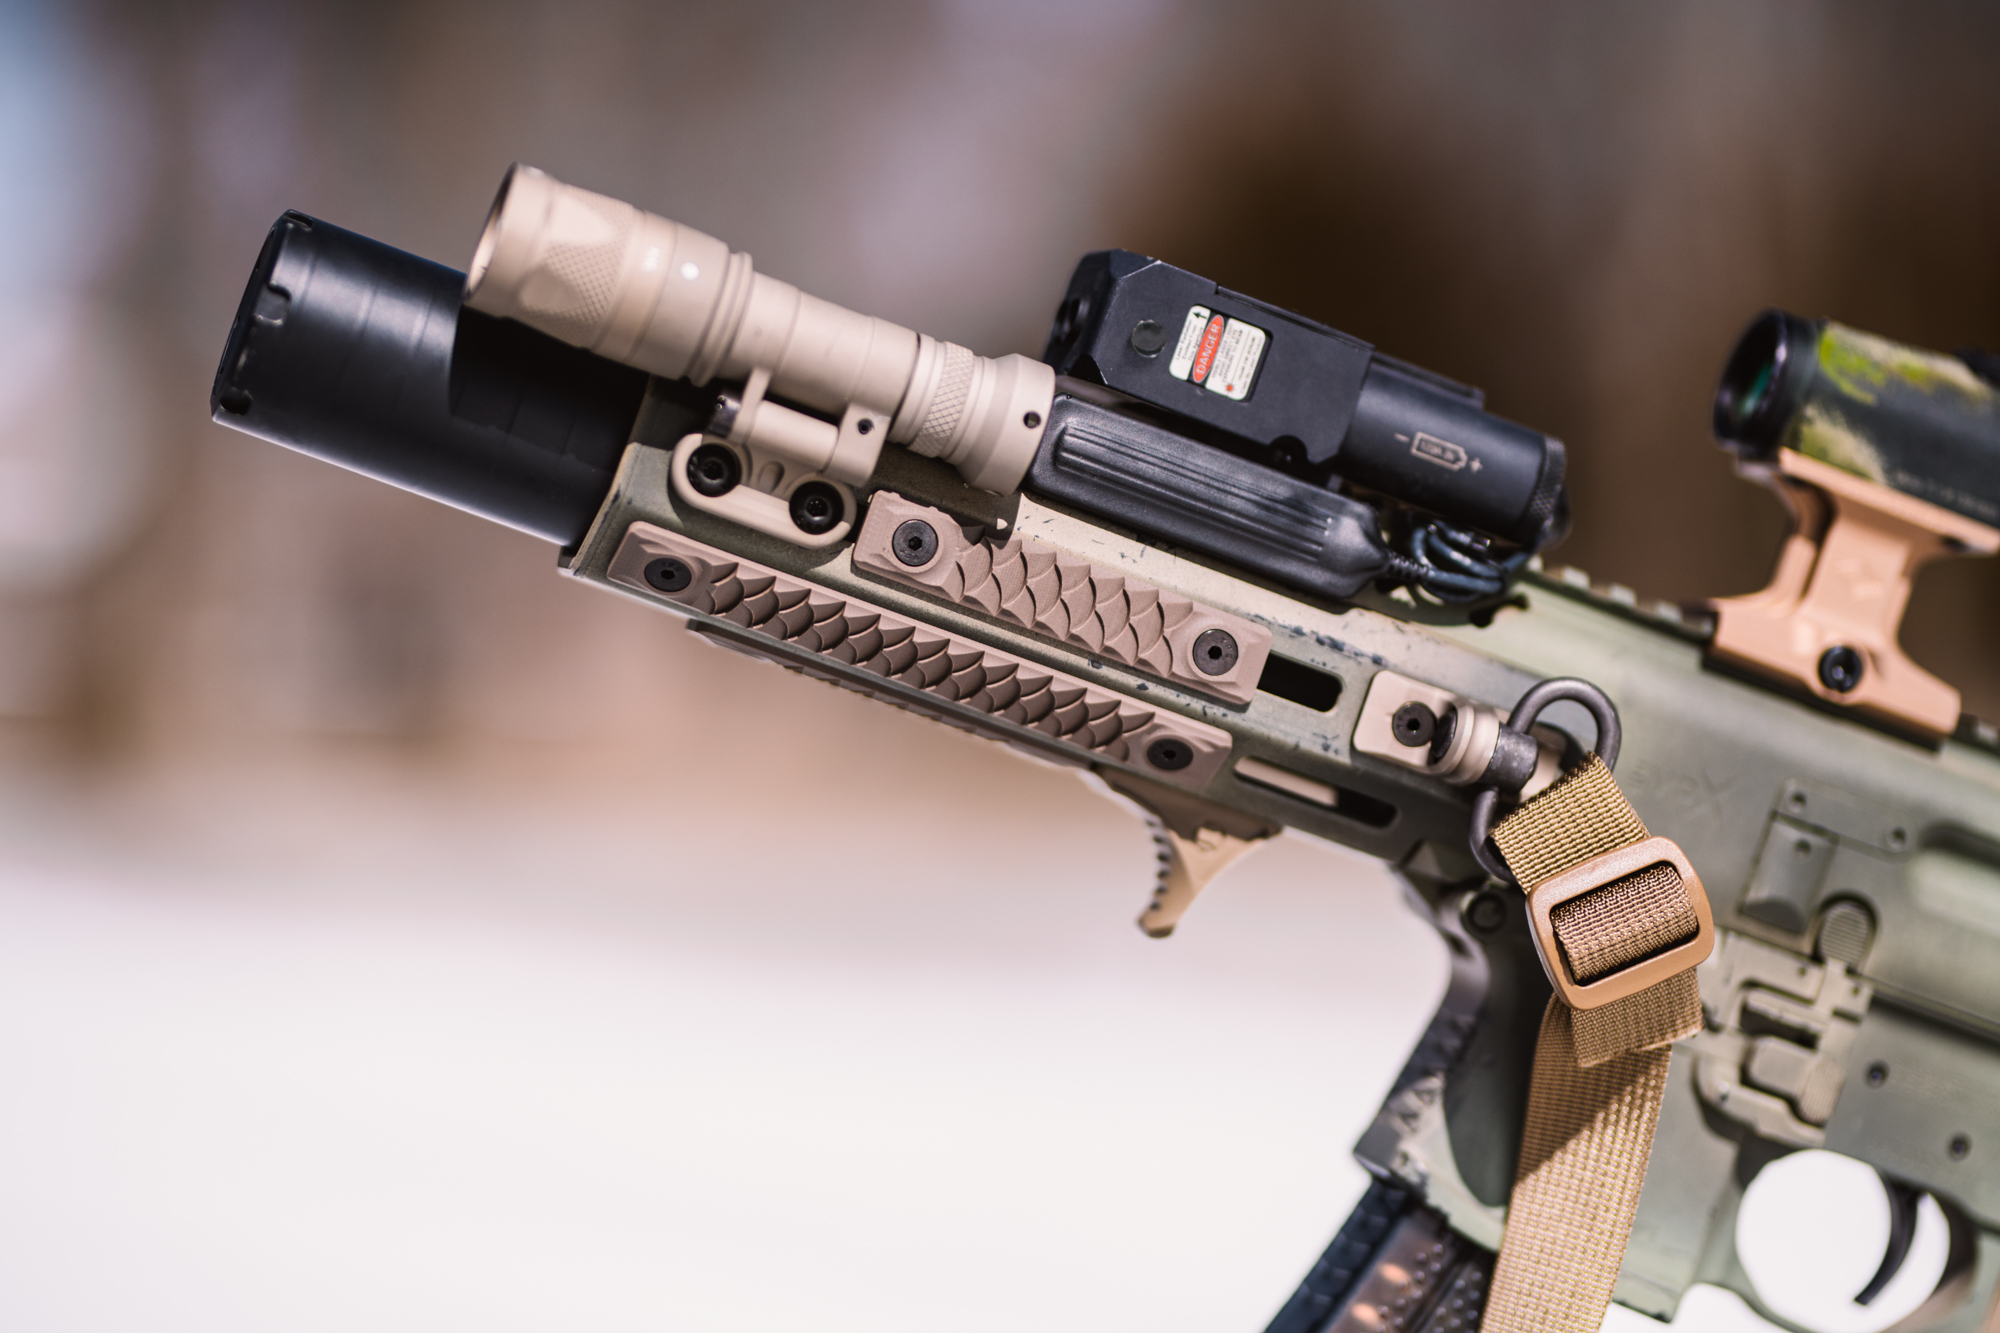
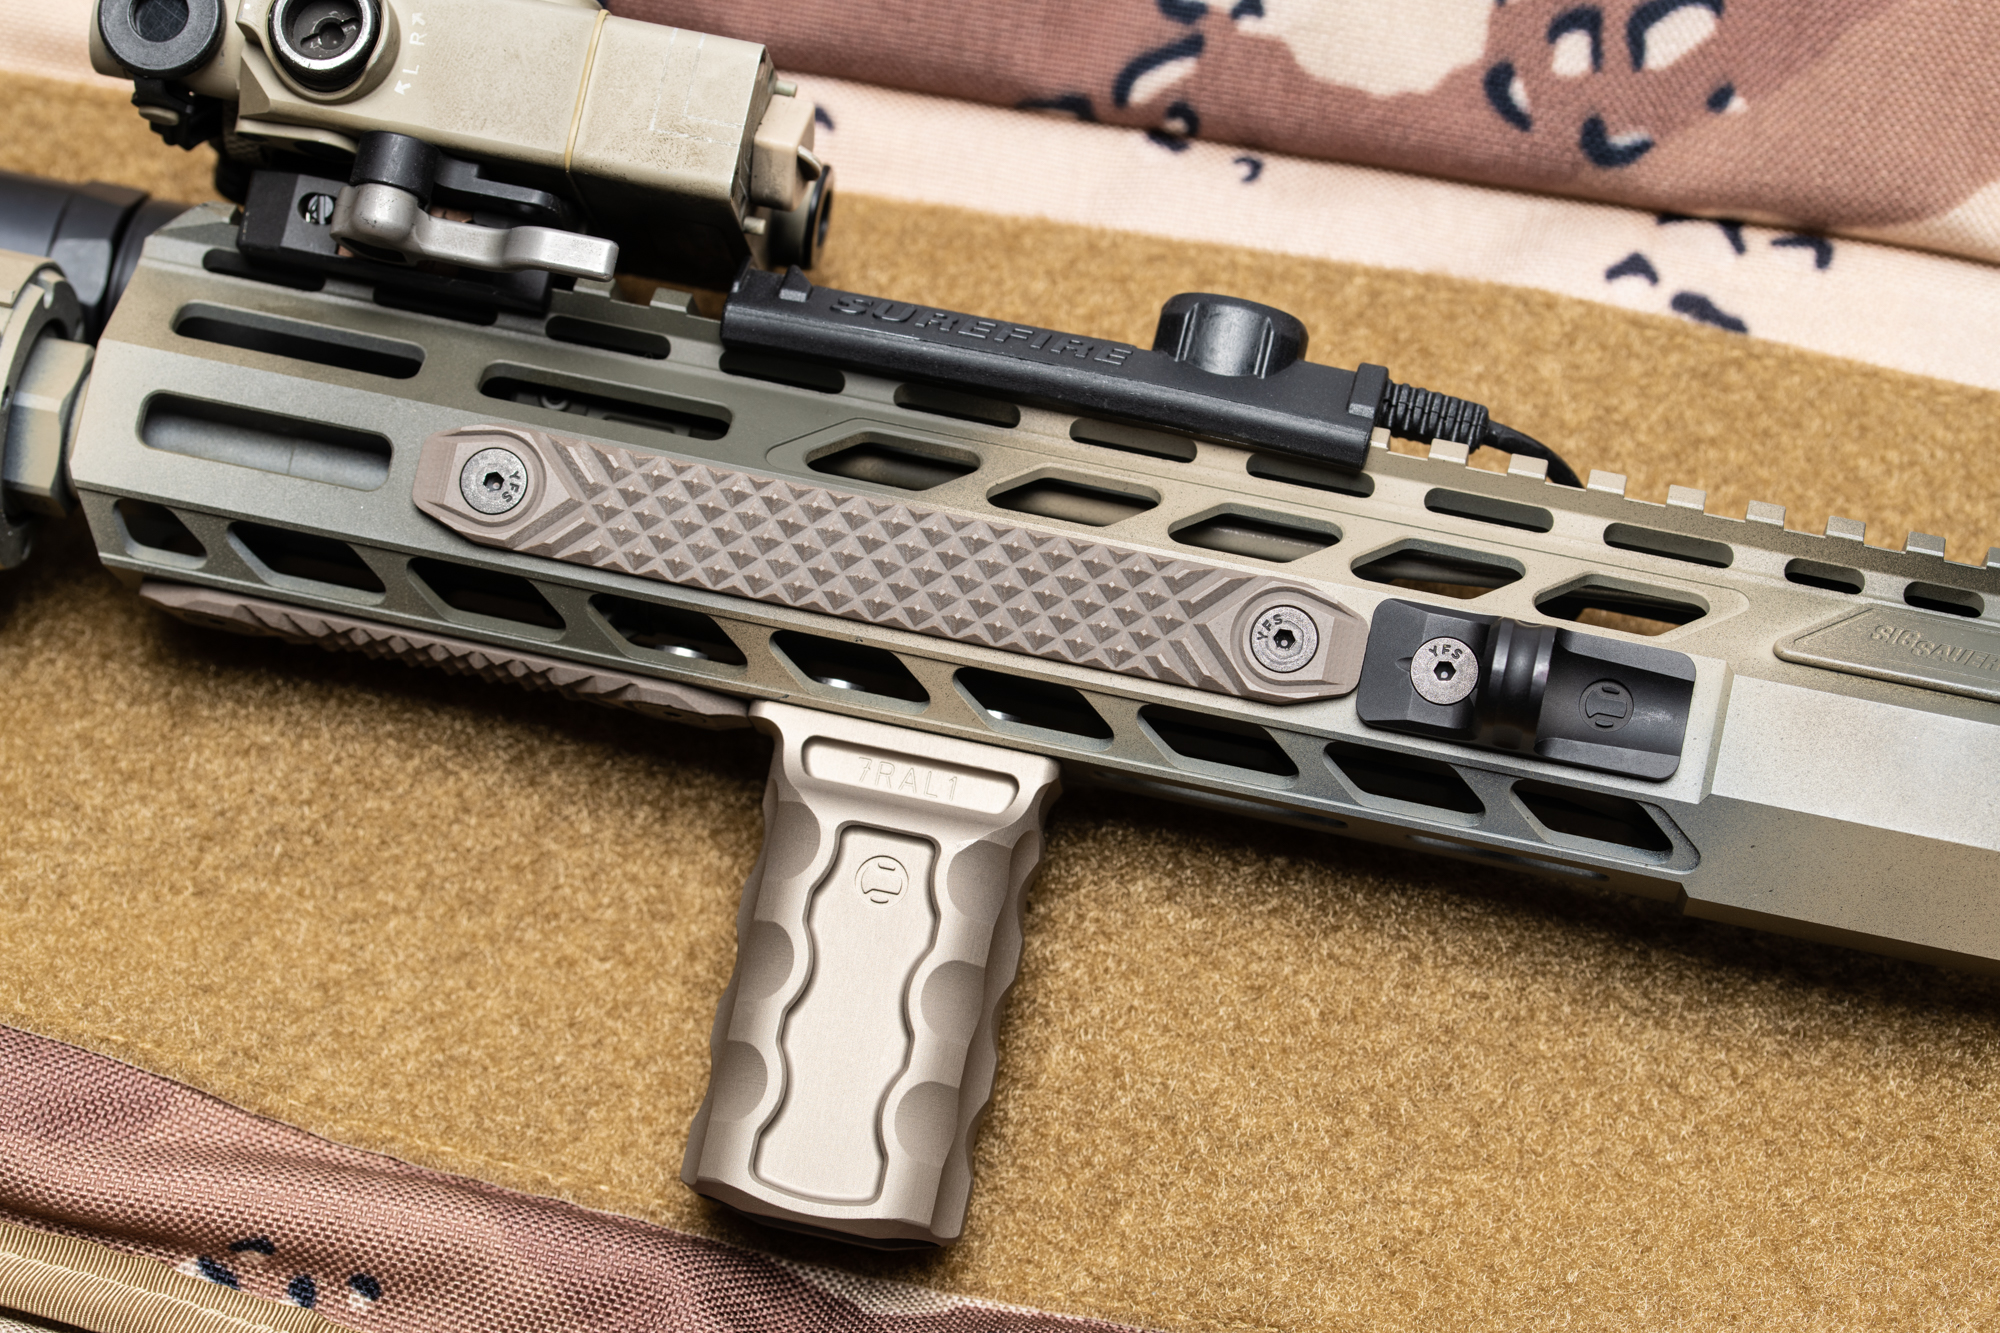
At RailScales, we’re all about making your rifle truly your own with premier assault rifle accessories. In addition to adding the right accessories, giving your rifle a custom paint scheme is a great way to help it stand out at the range or to blend into natural environments. With our color offerings in the HTP line, you can get the desired look you want from your painted ar-15 without having to paint the accessories. The HTP come in FDE, OD Green, Black, and Sniper Grey. These colors will help give you the grip you are looking for and the color matching for the painted ar-15 that you've spent a Saturday evening going over.

Why Would You Want To Paint Your AR?
There are a lot of great reasons to paint your AR-15. We’ll get probably the best reason out of the way first though.
It looks cool, and it makes you stand out. At the end of the day, obviously that’s what’s important!
Jokes aside, there’s more to painting your AR-15 than just looks. What, then, are some more utilitarian reasons to paint your rifle?
Your Gear is Already Camo
If you’re putting together a SHTF rifle, it’s likely that the rest of your gear is already in the camo pattern of your choice. Whether it’s woodland, Multicam, or flecktarn, you want to fade into your surroundings so that you’re only seen when you want to be. But a solid black or gray rifle does a great job of disrupting that camo pattern, unless, of course, you only go out at night.
It Mutes the Colors
While most AR-15s are finished in a matte black or phosphate type color, they can still catch the sun and cause a glare. For hunters, this can give away your position to your prey, spoiling your shot.
It’s Cheap and Easy to Do
If you’re looking for a fun weekend project but can’t make it to the range, then this is a great way to spend some time with your rifle. It only takes a few hours, and really won’t cost you much at all.
The cost of some rubbing alcohol or brake cleaner, painters tape, and a few cans of spray paint is cheaper than a night out on the town or a tank of gas. If you don’t like the results, you can always repaint it later.

How To Actually Paint Your AR-15
Get Your Shopping List In Order
Like all projects, a little bit of forethought goes a long way in making this project go smoothly. Before you get to far, make sure you have the following supplies:
- A rifle
- A selection of paints (we recommend at least three)
- Masking or painters tape
- Rubbing alcohol or painters tape
- Nitrile gloves
- A clean work space
- Branches, leaves, netting, or stencils
- All of the rudimentary painting skills you learned in Mrs. Henderson’s 5th grade art class
When you’ve gathered these things, you can start your work. But wait, which colors do you pick?
Picking the Right Camo Colors
It’s said that there are no wrong notes in jazz, except for that one. The same can be said for camo patterns. We’ve all seen some suspect camo work on trucks or rifles around town, and you don’t want your rifle to stand out.
To get a sense of what colors you should be putting on your rifle, take a step outside. Your local environment should inform your color palette. For instance, if you live somewhere dry like Arizona, you’ll want to use tans and browns. In places with more moisture and vegetation, greens, browns, and even deep reds might be better suited. Hit the local hardware store, or even the local hobby shop, and find a selection of colors that are close to what you found outside. This will ensure that your rifle seamlessly blends into your surroundings.
Of course, you can take this suggestion and throw it right out the window. If you want a rifle that looks more like a psychedelic drug trip than something that might be found in the sandbox, go for it. More power to you.
Prepping for Paint
Before you start haphazardly throwing layers of paint onto your rifle, take a few moments to clean it up and mask off important areas. Using either rubbing alcohol or brake cleaner, clean off your entire rifle. Basically, you want to ensure that any leftover solvents, oils, or powders are cleaned off the rifle. This offers the paint a clean, smooth surface to adhere to, and will help the camo to resist wear and tear longer. Allow the rifle to dry thoroughly before you start painting.
Once it’s clean and dry, use the painter’s tape to block off any important areas — this includes spots like your ejection port, your trigger, and your AR magazine well. For an easy way to mask the mag well and camo a magazine at the same time, simply put a magazine in place and paint that as well. If you’re worried about the barrel, you can plug it with an old barrel snake. You don’t want any paint to get into the interior of the rifle where it could gum up the components and cause malfunctions.
Putting Down a Base Coat
You’re ready to start painting your rifle. If possible, you’ll want to hang your rifle from something so you can get to all sides of it in one go. If not, simply lay it down on a clean surface, like a sheet of cardboard.
Your first step is to put on a base coat. Start with the lightest color in your collection of camo and use that. For instance, if you’re going for a classic tan, green, and brown color, start with your tan color as the base. Paint the rifle with thin coats of paint, and let them accumulate slowly. Work in long passes along the length of the rifle, holding the can about one foot away. This will ensure optimal coverage.
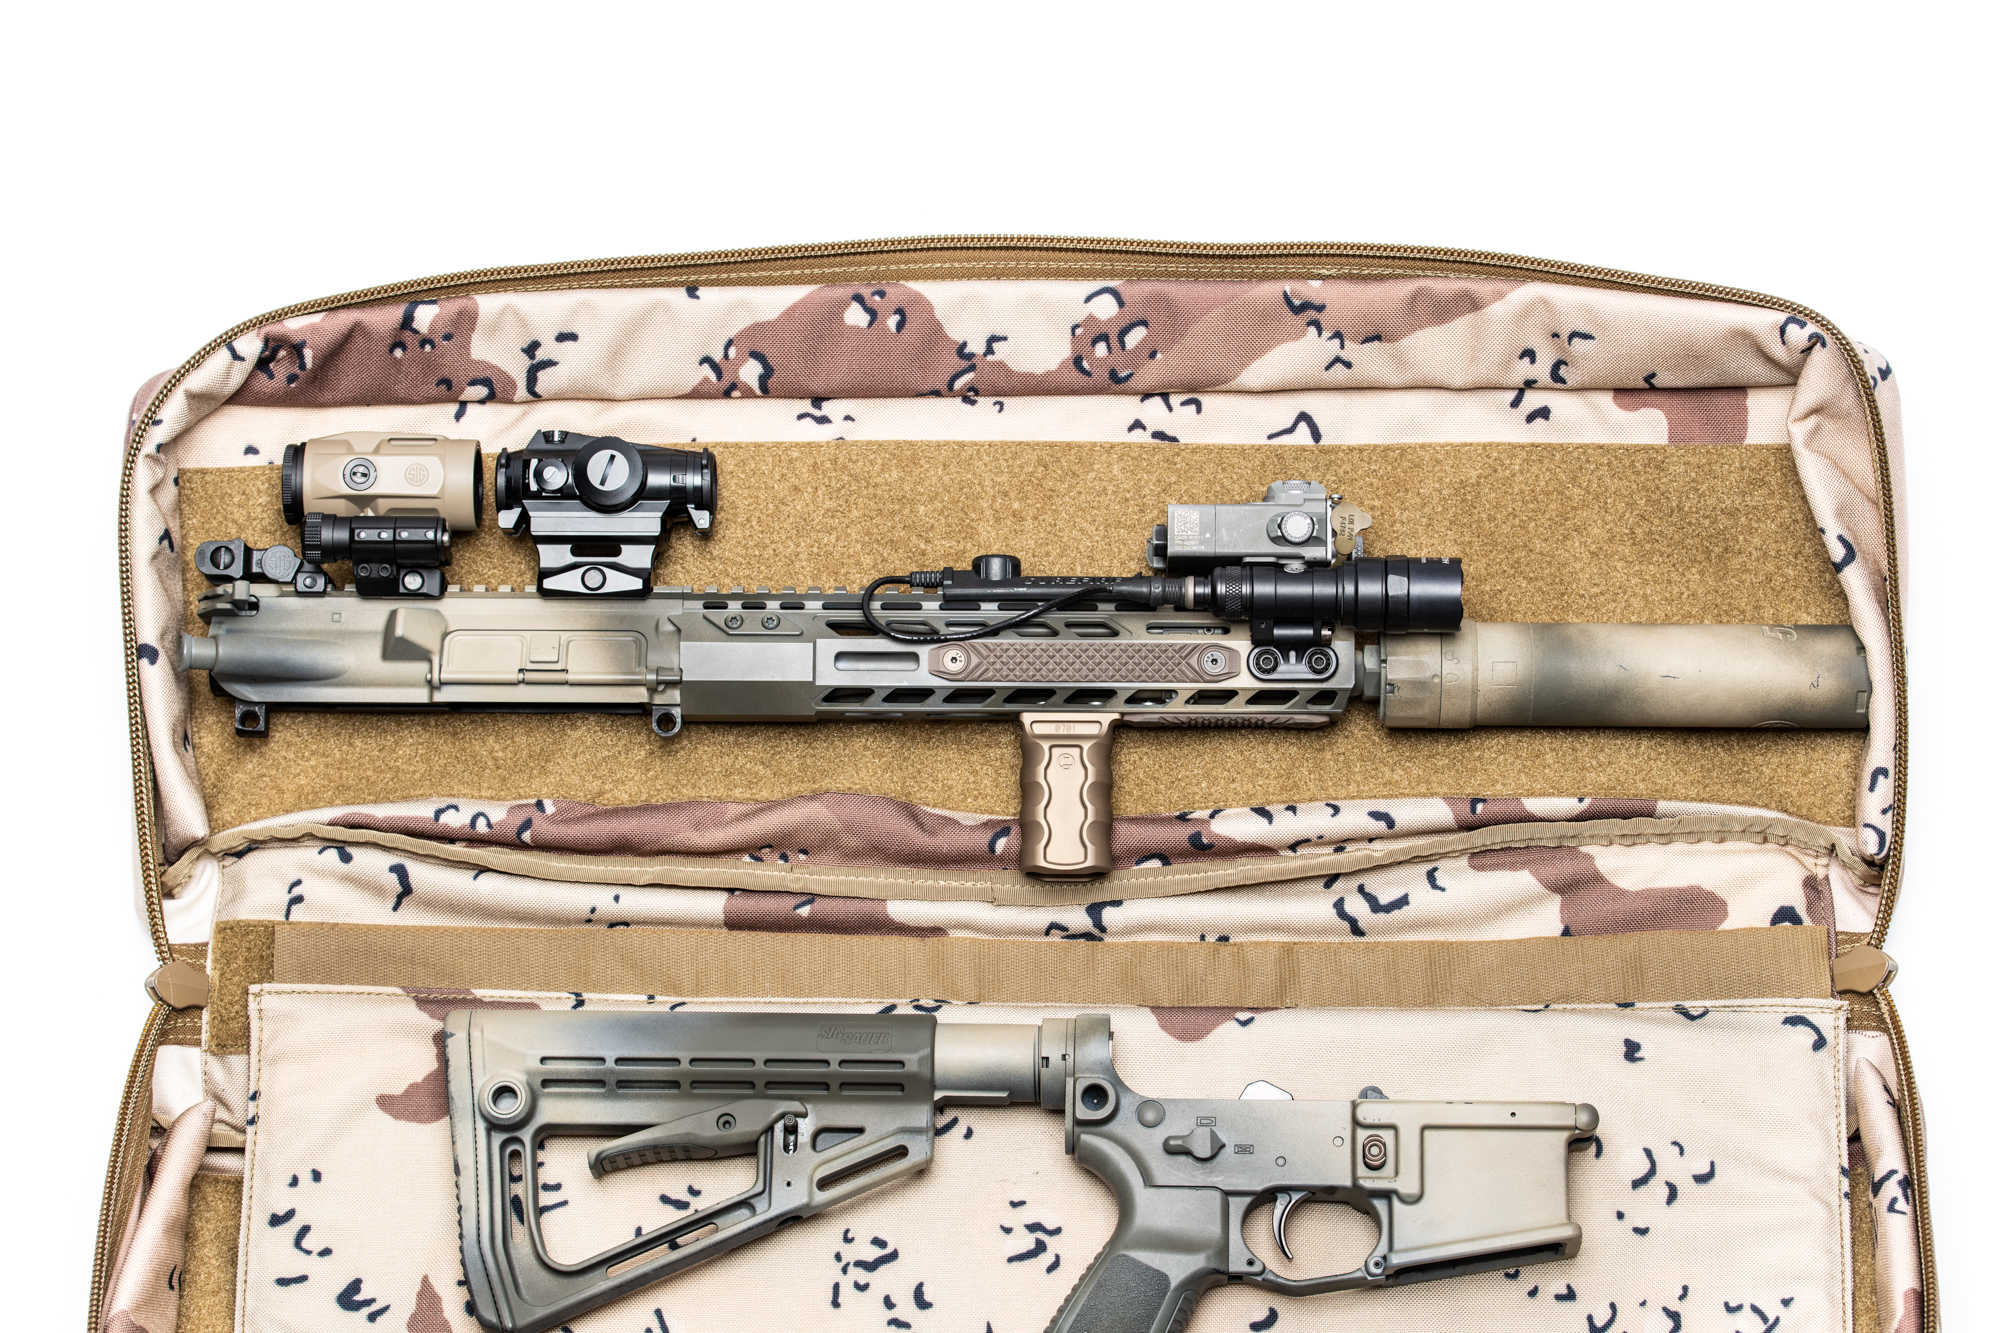
If you’re also camouflaging your AR-15 accessories, like grips and handstops, consider taking them off the rifle and painting them separately at this stage.

More Colors and Patterns
Once the base layer has been allowed to dry, you can start applying your other colors and creating your camouflage pattern. If you haven’t already, add your accessories and parts back to the rifle and handguard at this point.
You can break up the distinct outline of your rifle in a number of ways. If you’re going for the “natural” look, take a step out to your backyard or a nearby natural area and collect a few branches, leaves, and handfuls of wild grasses. You can arrange these along the rifle and use them as a stencil. Paint over and around them and their outline will be imprinted on your rifle.
Other great ways to get visual patterns on your rifle is to use mesh or netting. Draping it over the rifle and doing a light mist of spray paint creates an impressive cross-hatched effect. You can also cut random patterns and shapes out of paperboard to create your own pattern. Arrange these patterns across the rifle as you see fit. Again, work from the lightest color to the dark. So add your greens, then your brown colors, and so on.
As you add new colors, rearrange your stencils, branches, etc. This creates a variegated visual appearance that helps the rifle to blend into its surroundings.
Finishing Your Rifle
At this point, your rifle is completed. Allow the paint to dry, then break down your rifle and clean, oil, and grease the interior components. If you're concerned about the paint chipping off quickly, you can seal the rifle with a couple of passes of a clear coat spray. That said, your paint scheme will begin to wear with use and time, which should eventually add to the look and nuance of the camo.
A camouflaged rifle adds a personal, and practical, touch to your rifle. When you paint it to match your region, you’ll find that your rifle nearly disappears when you need it to. When you give it a flashy paint scheme, your rifle will stand out from the dozens of bland, black rifles that litter your local shooting range. Also, keep in mind to match your soft gear to the local environment. Can't have a dope custom painted AR in a green base and then have mag holders or chest rig in tan or black.
In addition to matching soft gear, adding https://en.wikipedia.org/wiki/Bob_Ross in popular industry colors can help to complement a custom-painted AR-15. Companies like RailScales offer a great selection of functional upgrades to the weapon in a variety of popular industry colors that give a custom-color AR even more personalized aesthetic.
Customize Your Rifle Today
If you’ve already camo’d your rifle to your liking, then it’s time to outfit it with the ar 15 accessories you need to get added control and retention over your weapon. RailScales offers high-end rail covers and forend grips, designed to work with your preferred handguard. We offer accessories made for your M-LOK and Keymod handguards that are constructed from premium materials like G10, HTP, and metal. Browse our catalog today and order now.