When it comes to outfitting your AR-15, you are probably always looking for the latest and greatest AR accessories to set your firearm apart from the crowd both technologically and aesthetically. Naturally, that is bound to include investing in red dot and laser sights.
These sights are becoming increasingly popular on sporting rifles of all varieties, and are praised for their ease of use, accuracy, and speed of target acquisition. However, they aren’t a perfect product and have their own faults. When your red dot or laser sight fails, it’s important that you have another way to aim your rifle.
This is where a set of BUIS, or back up iron sights, come into play. But slapping two sighting systems onto a rifle doesn’t necessarily mean you’ll be more accurate. These two systems have to work together, and that’s why it’s important to co-witness your sights.
Don’t know what we’re talking about? Don’t panic, RailScales is here to help. We’ll outline how you can set up co-witness sights on your AR-15, in order to help you get the most from your sights.
What is Co-Witnessing?
On many rifle setups, you’ll find a pair of fixed iron sights and a scope, red dot, or laser. The process of ensuring that these two kinds of sights are lined up is known as co-witnessing.
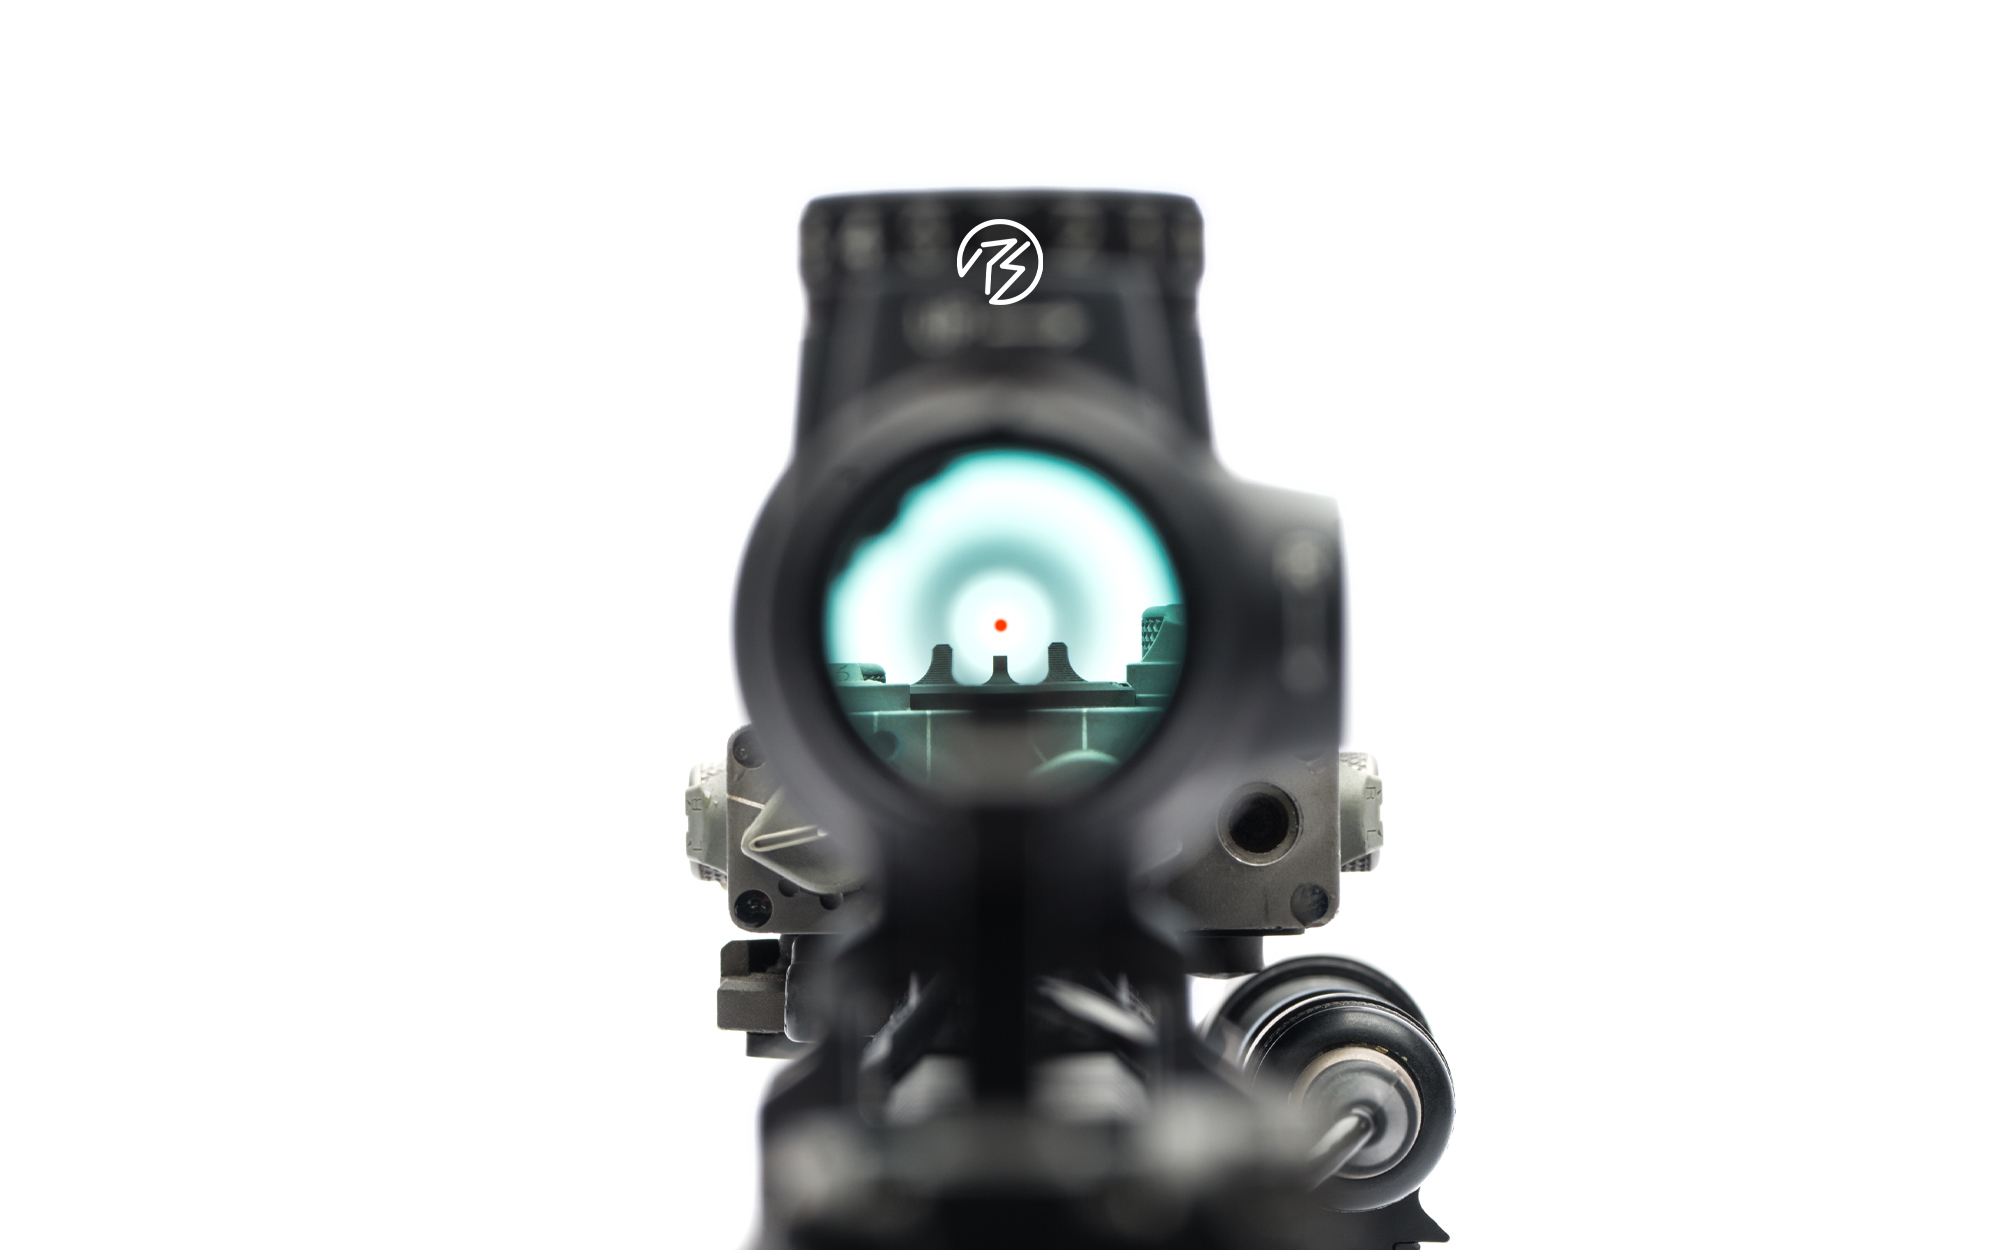
Essentially, when they are properly set up and zeroed, the two sets of sights work together. The red dot will actually rest on top of your iron sights.
Why It’s Important To Co-Witness Your Sights
Whether you’re on the range or in a self-defense situation, the last thing you want to think about is, “Did I change the battery on my optic?” When your red dot or reflex sight suddenly fails, either due to battery issues or damage, you’ll need another way to reliably aim your rifle. Without back up sights, you’re effectively guessing at where your rounds are going, which is a dangerous and ineffective way to shoot.
However, if you have a set of back up iron sights that are co-witnessed with your optic, you can quickly switch from optic to irons. This offers an uninterrupted sight picture and maintains your focus on your target.
Which Co-Witness Process Works Best?
So we know what it is, and now we know why you should do it, so how do you do it? Fortunately, it’s a fairly straightforward process. The hiccup, of course, is that there are a couple of different methods to co-witness your sights. So how do you go about choosing which kind of co-witness is best for you and your rifle?
Absolute Co-Witness
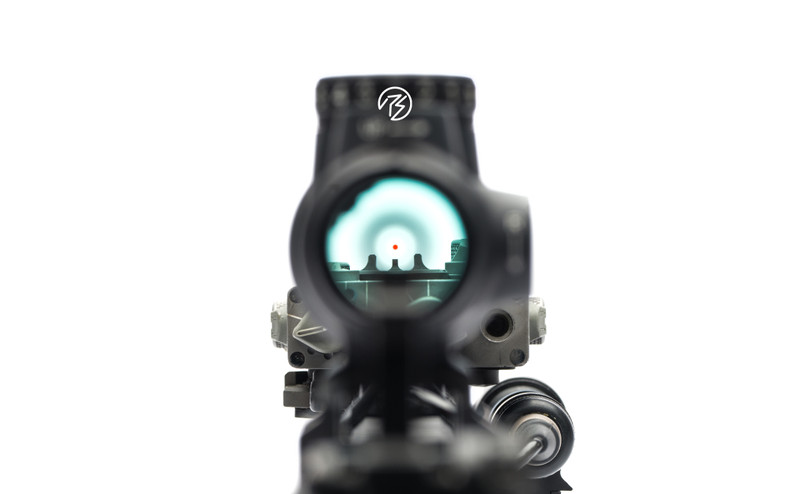
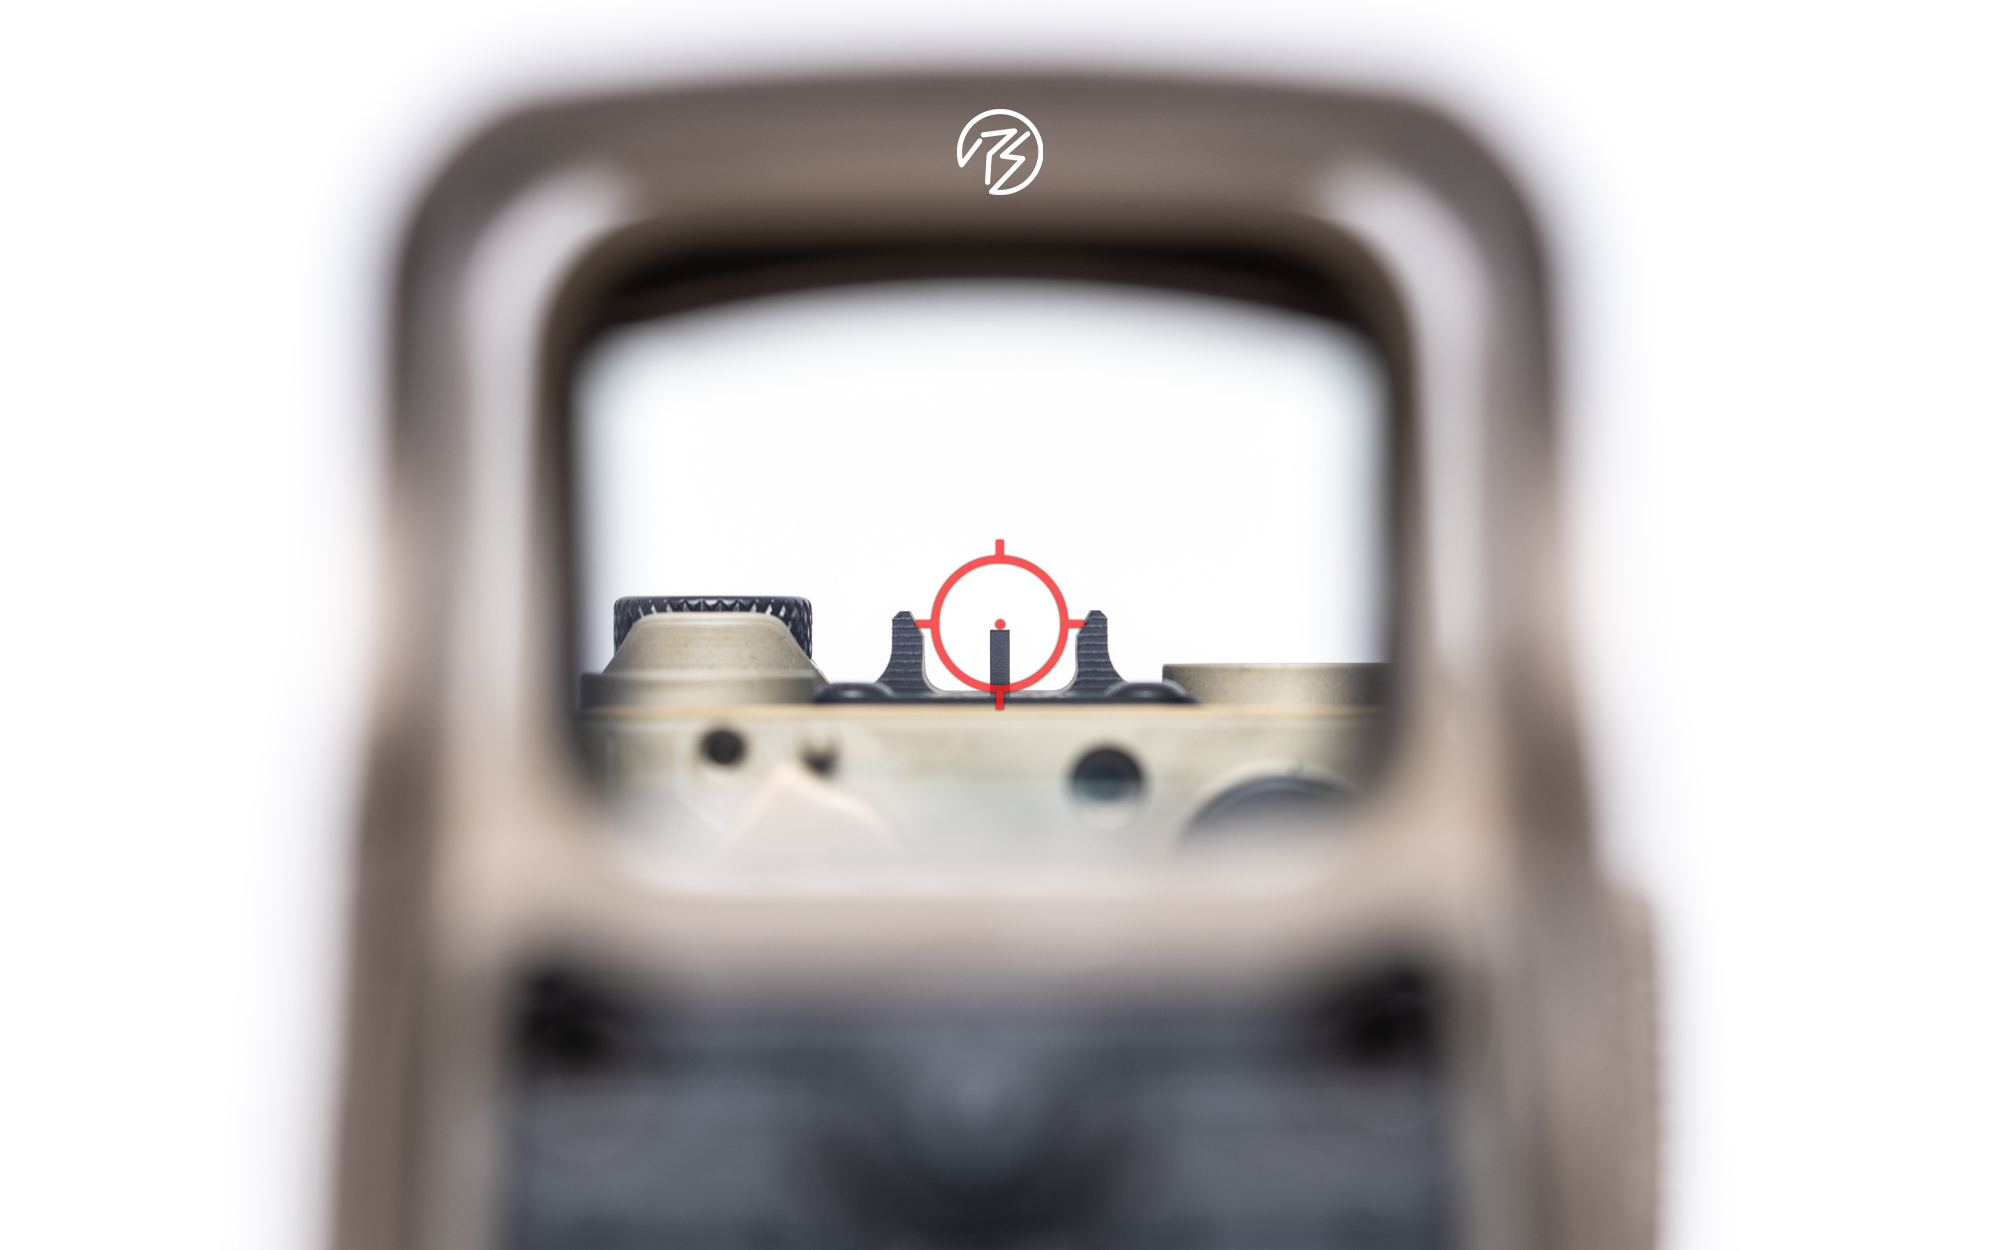
An absolute co-witness set up is when the reticle from the red dot is resting right on top of your front sight post. This means that your sights are always lined up, so if your optic suddenly shuts off, you don’t lose track of where you were aiming. Additionally, this set up works great when you’re transitioning from a dark to a light space so that you don’t lose focus even as your red dot gets washed out. The downside is that your sight picture through your optic can be cluttered, making it hard to visualize a target completely.
This co-witness set up is best for those with flip-up iron sights.
⅓ Co-Witness
Having a ⅓ co-witness sight set up is just as it sounds. In this set up your BUIS will be in the lower third of your optic. What this means for a shooter is that their red dot will seem to hover above the top of the front sight, which offers a wider field of view through the optic. If you find the front sight post distracting when you use a red dot, this is a great set up for you. Should the red dot fail, you simply shift your head, line up your iron sights, and continue shooting.
However, having the sights at different heights requires you to change how you position your head and neck, which can cause strains if you’re not used to shooting from that position. This co-witness set up is best for those with fixed iron sights.
Setting Up Co-Witness Sights On Your AR-15
Co-witnessing your sights is actually far simpler than you might first realize. When you set your sights up properly, it’s easy to seamlessly shift from your digital optic to your iron sights and back again. When setting up your co-witness, follow these steps:
I. Put Iron Sights On Your Rifle
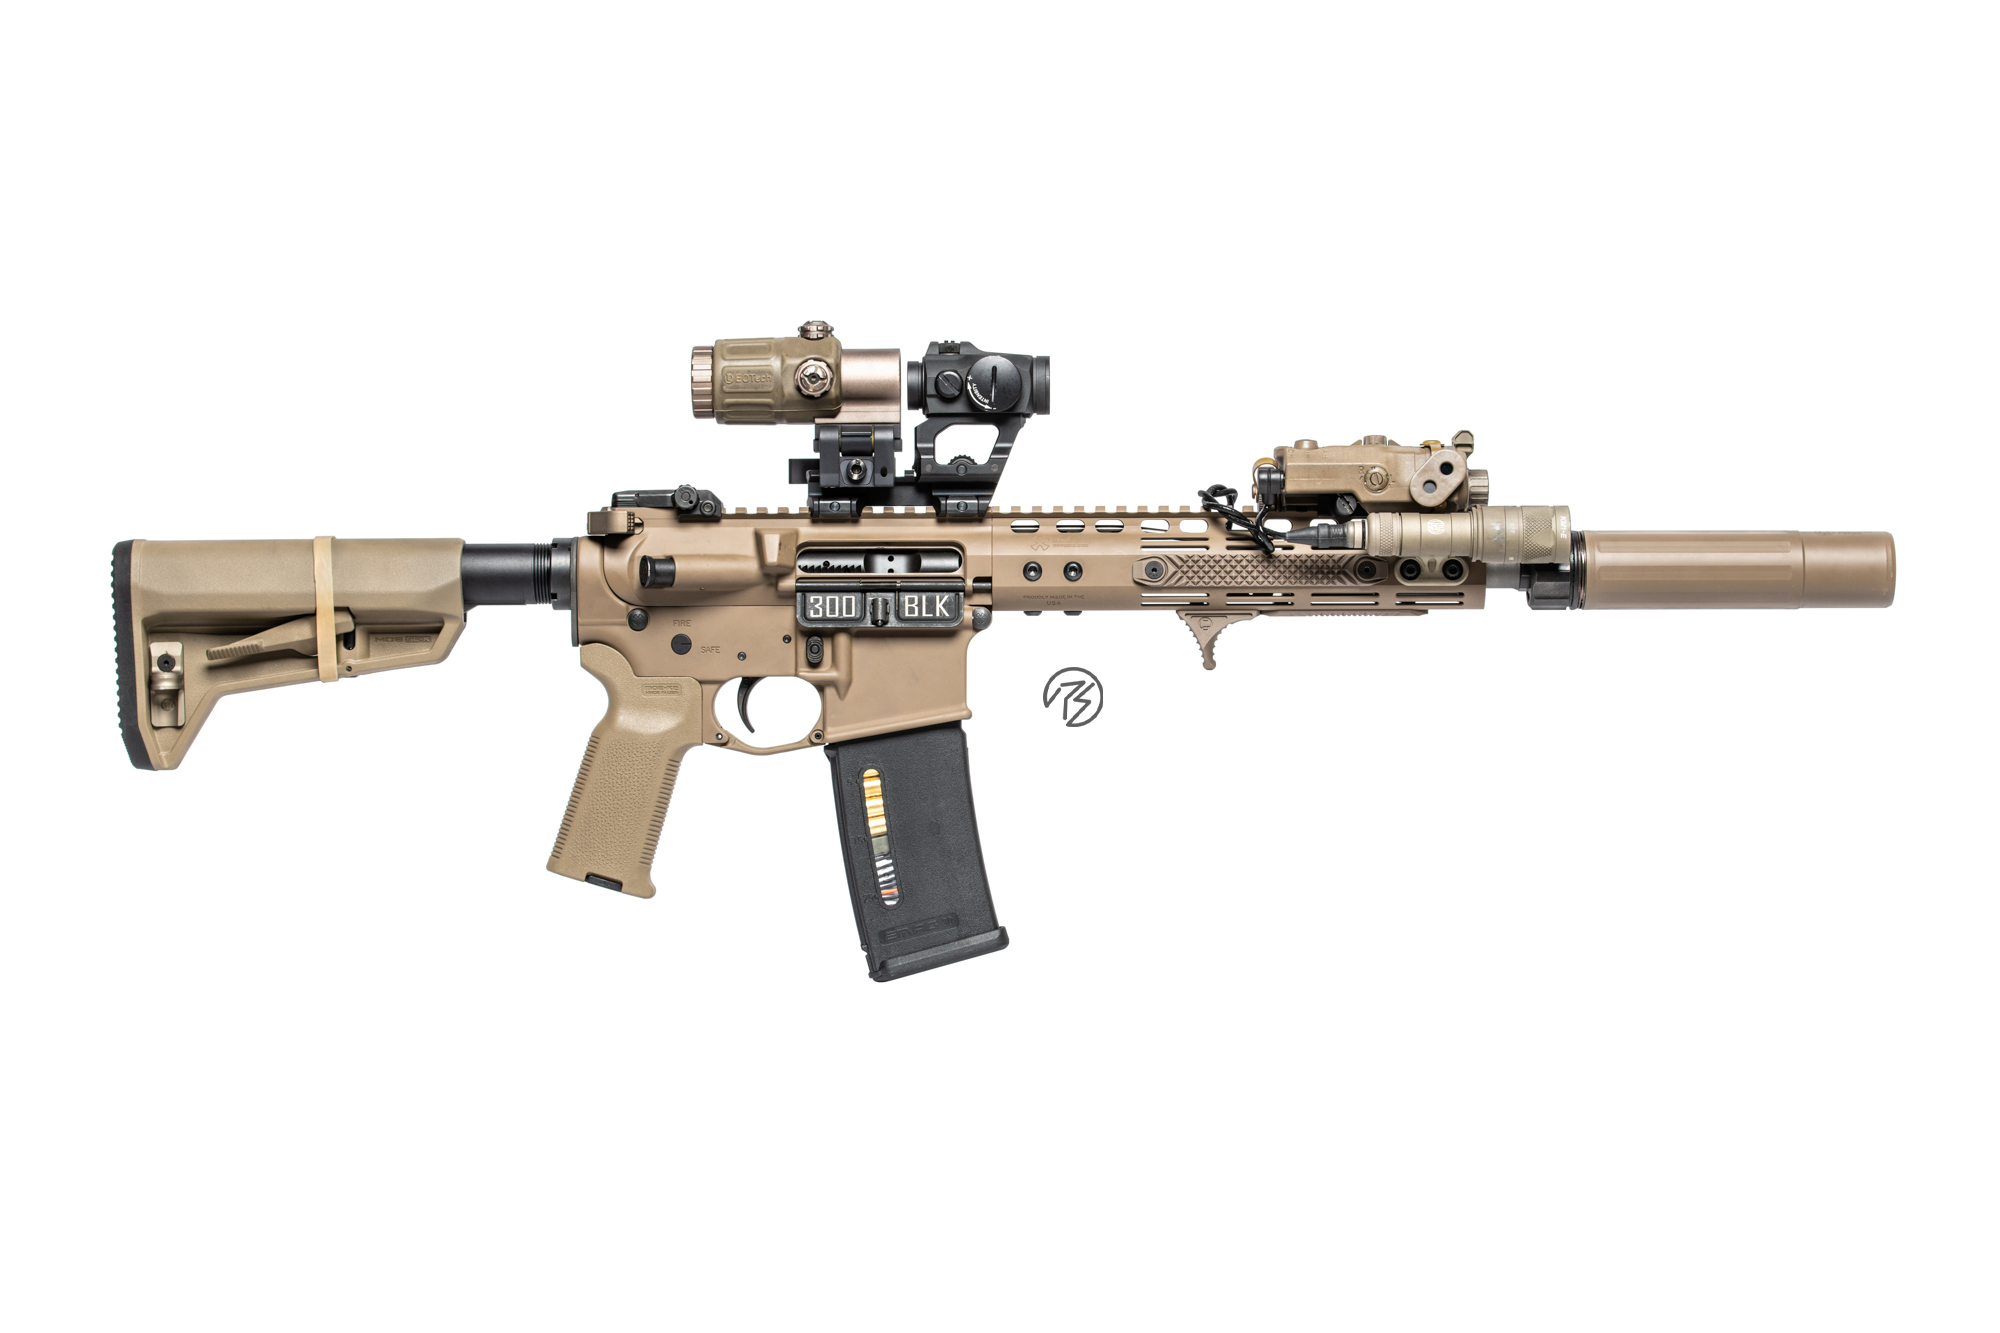
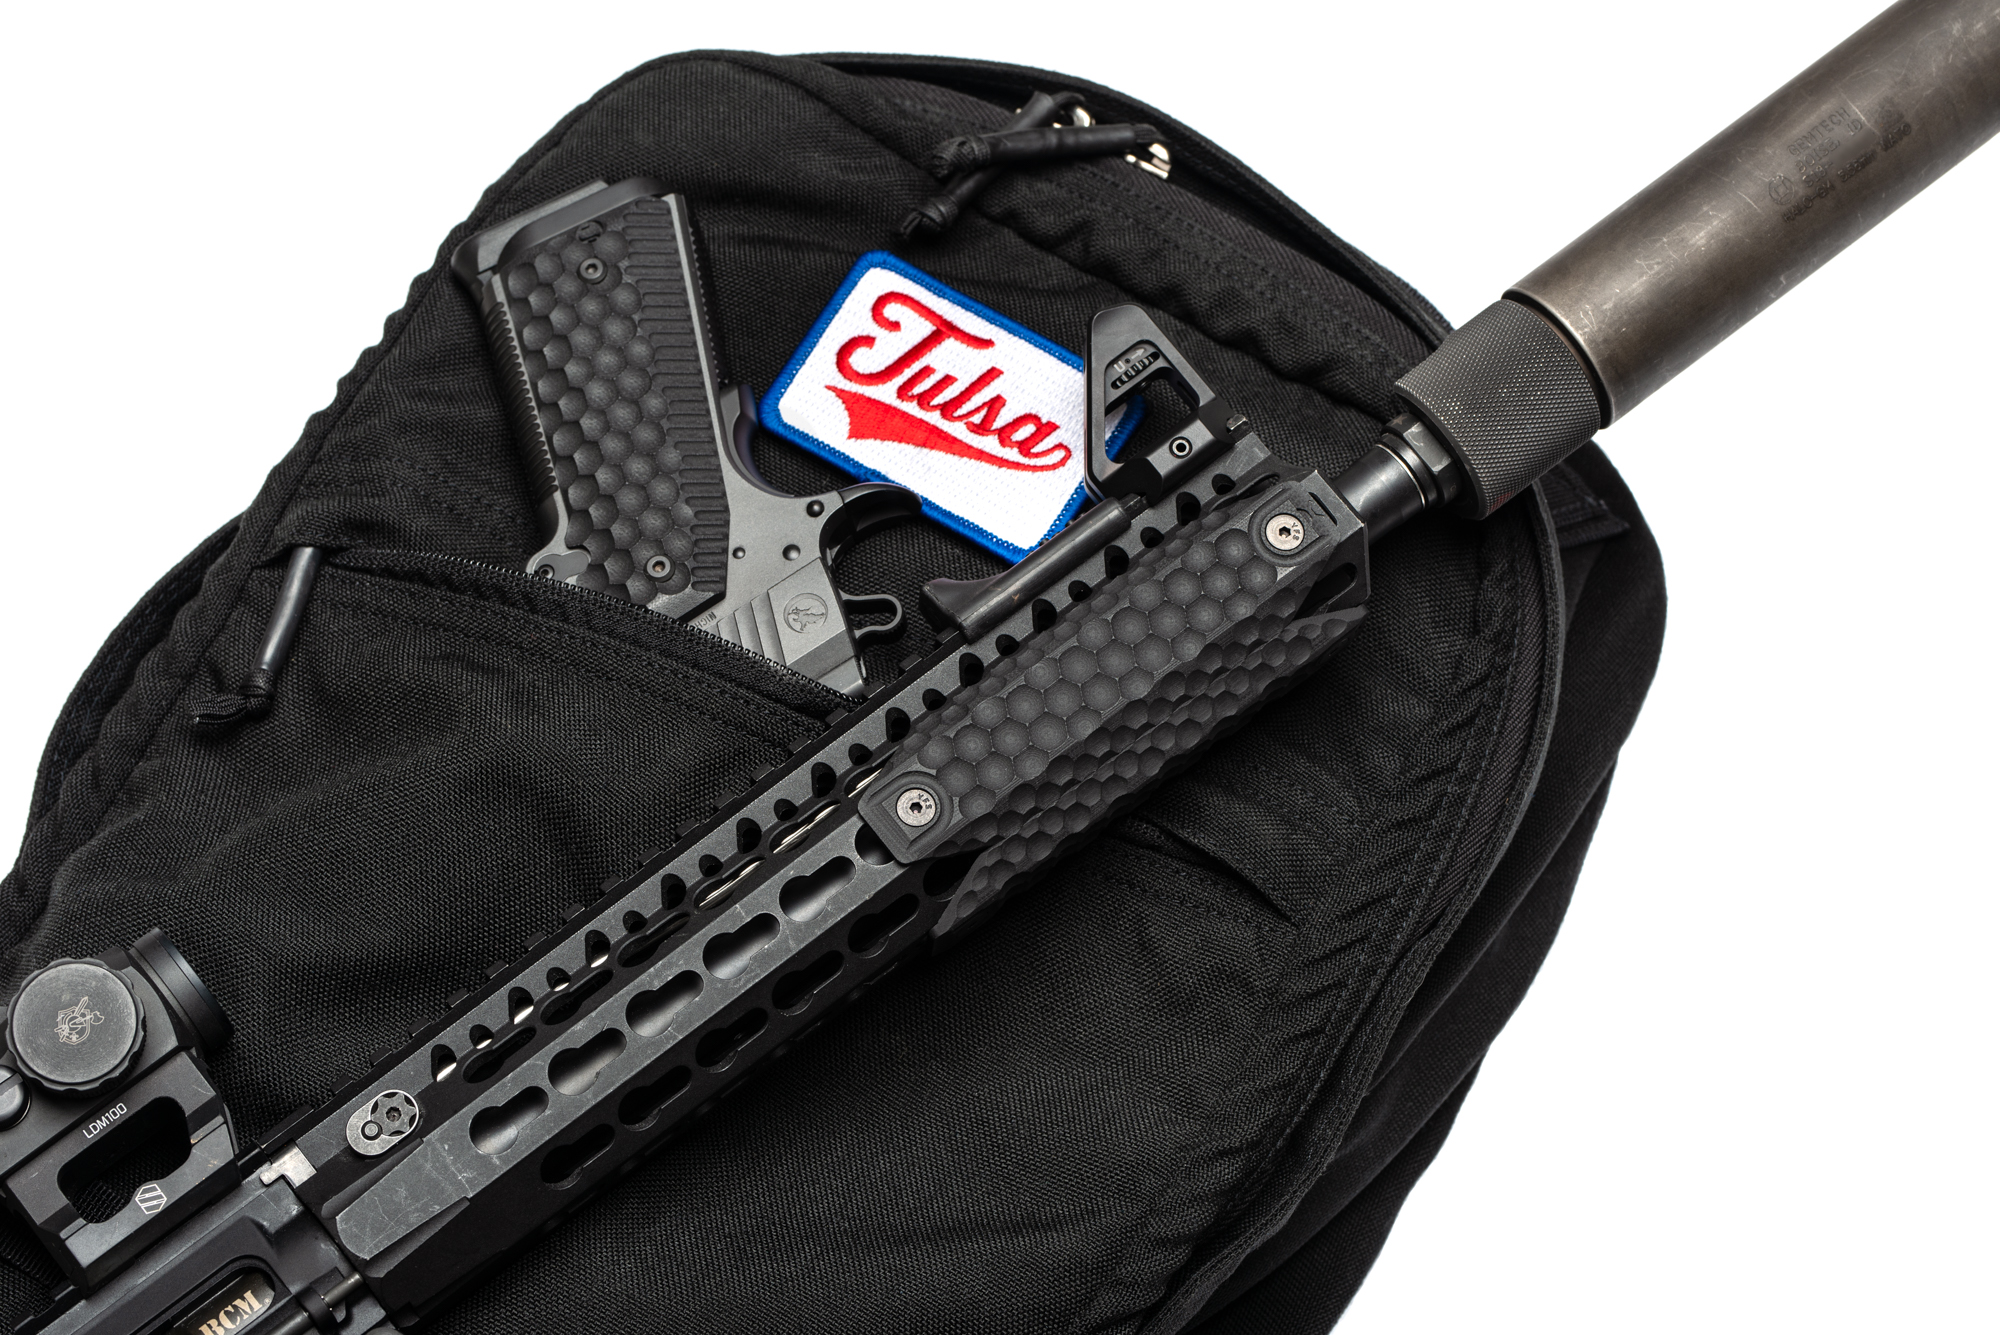
More and more manufacturers are selling rifles that have a million attachment points for optics and sights, but no actual iron sights. You’ll want to make sure you have iron sights you can use. Many now offer flip-up iron sights that can be attached to your rails quickly. You can also get fixed iron sights for your front sight post, and make use of a flip-up sight for the rear.
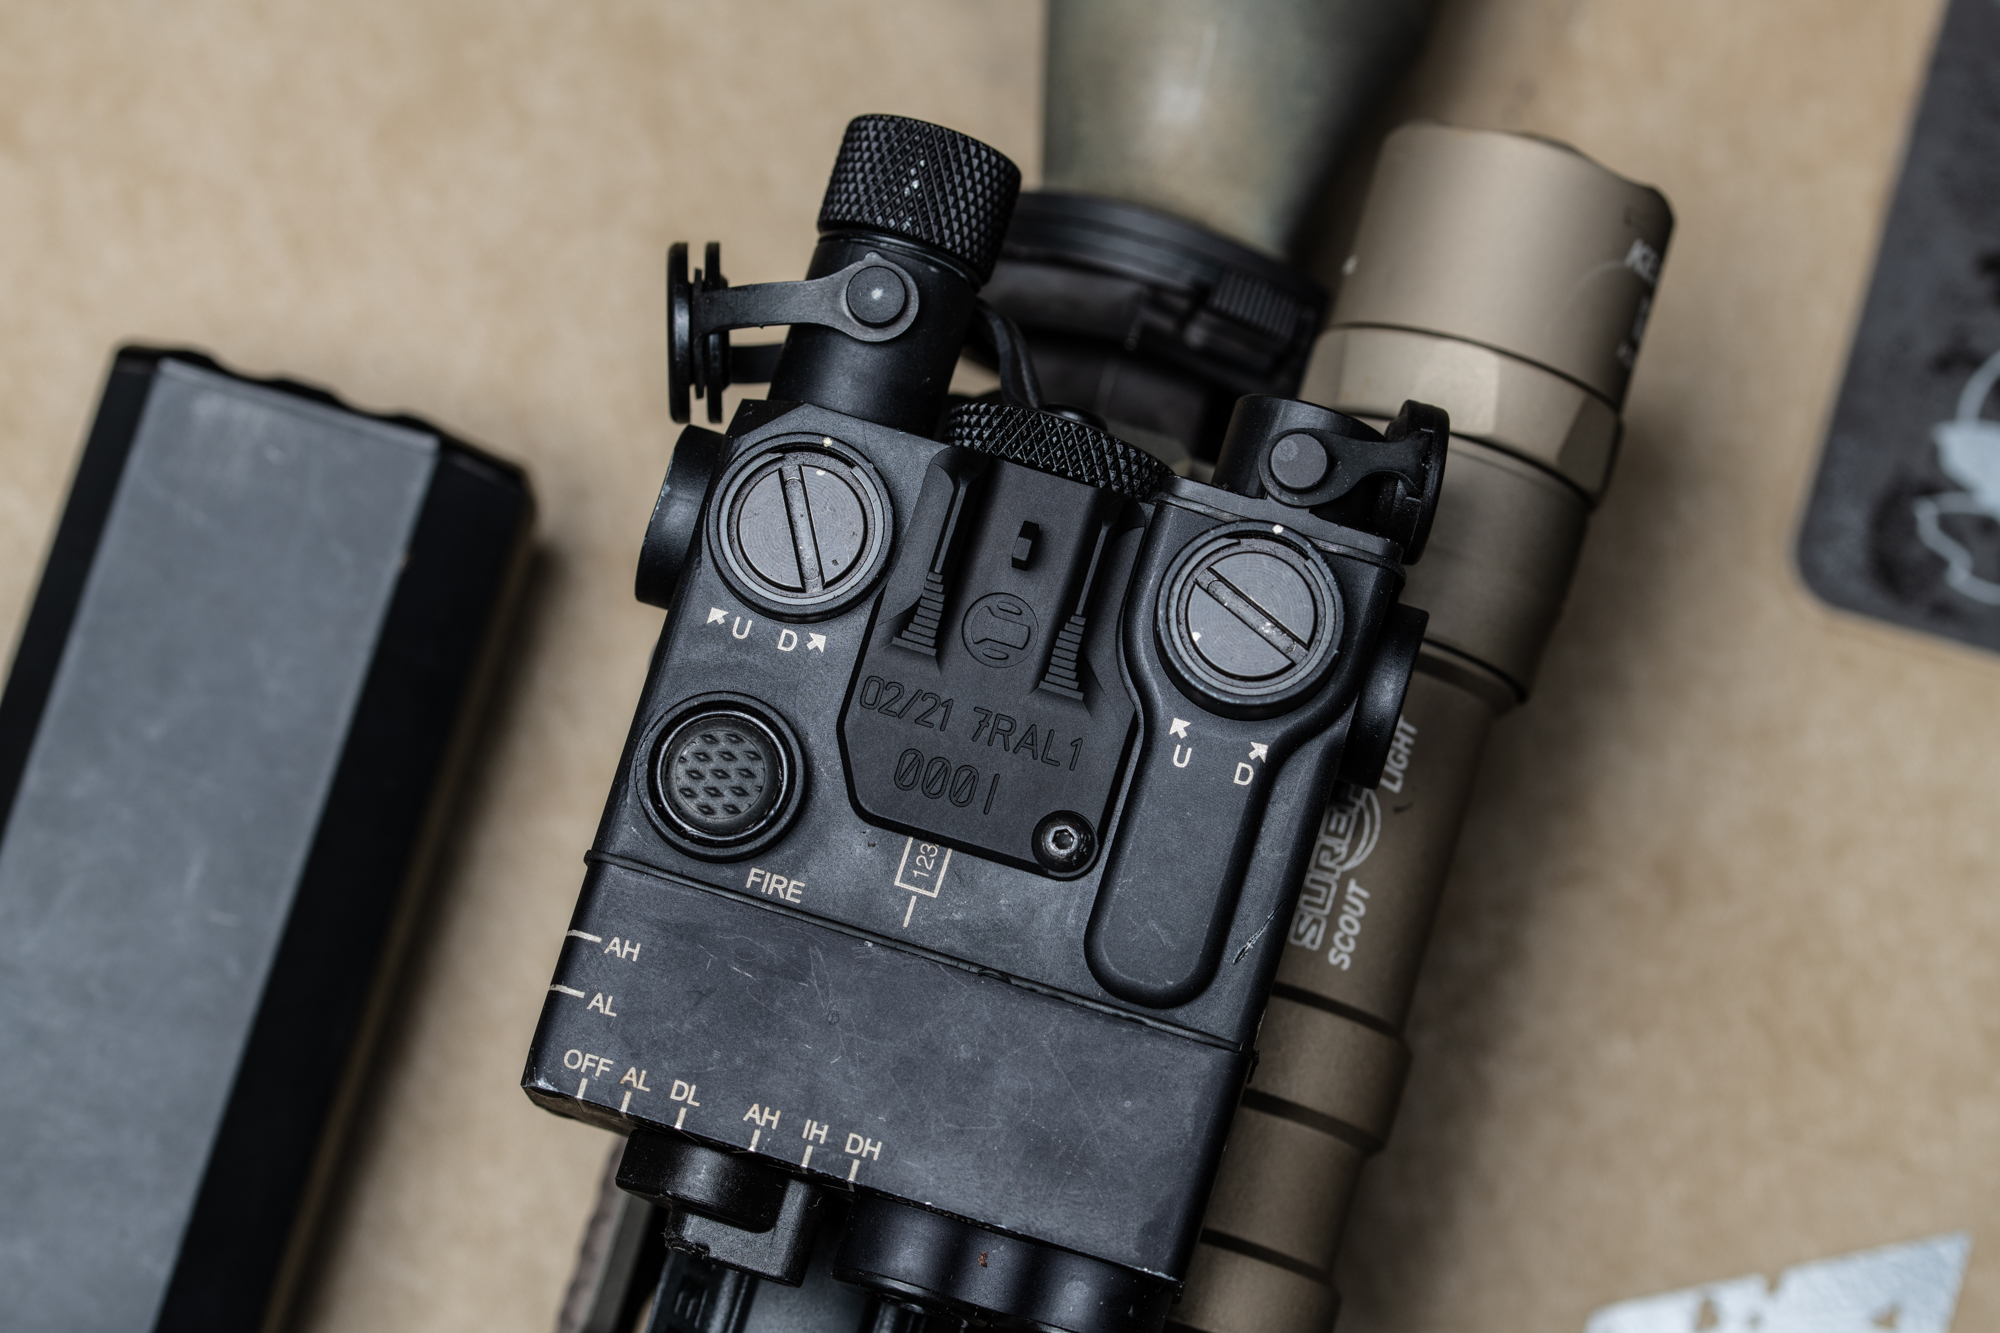
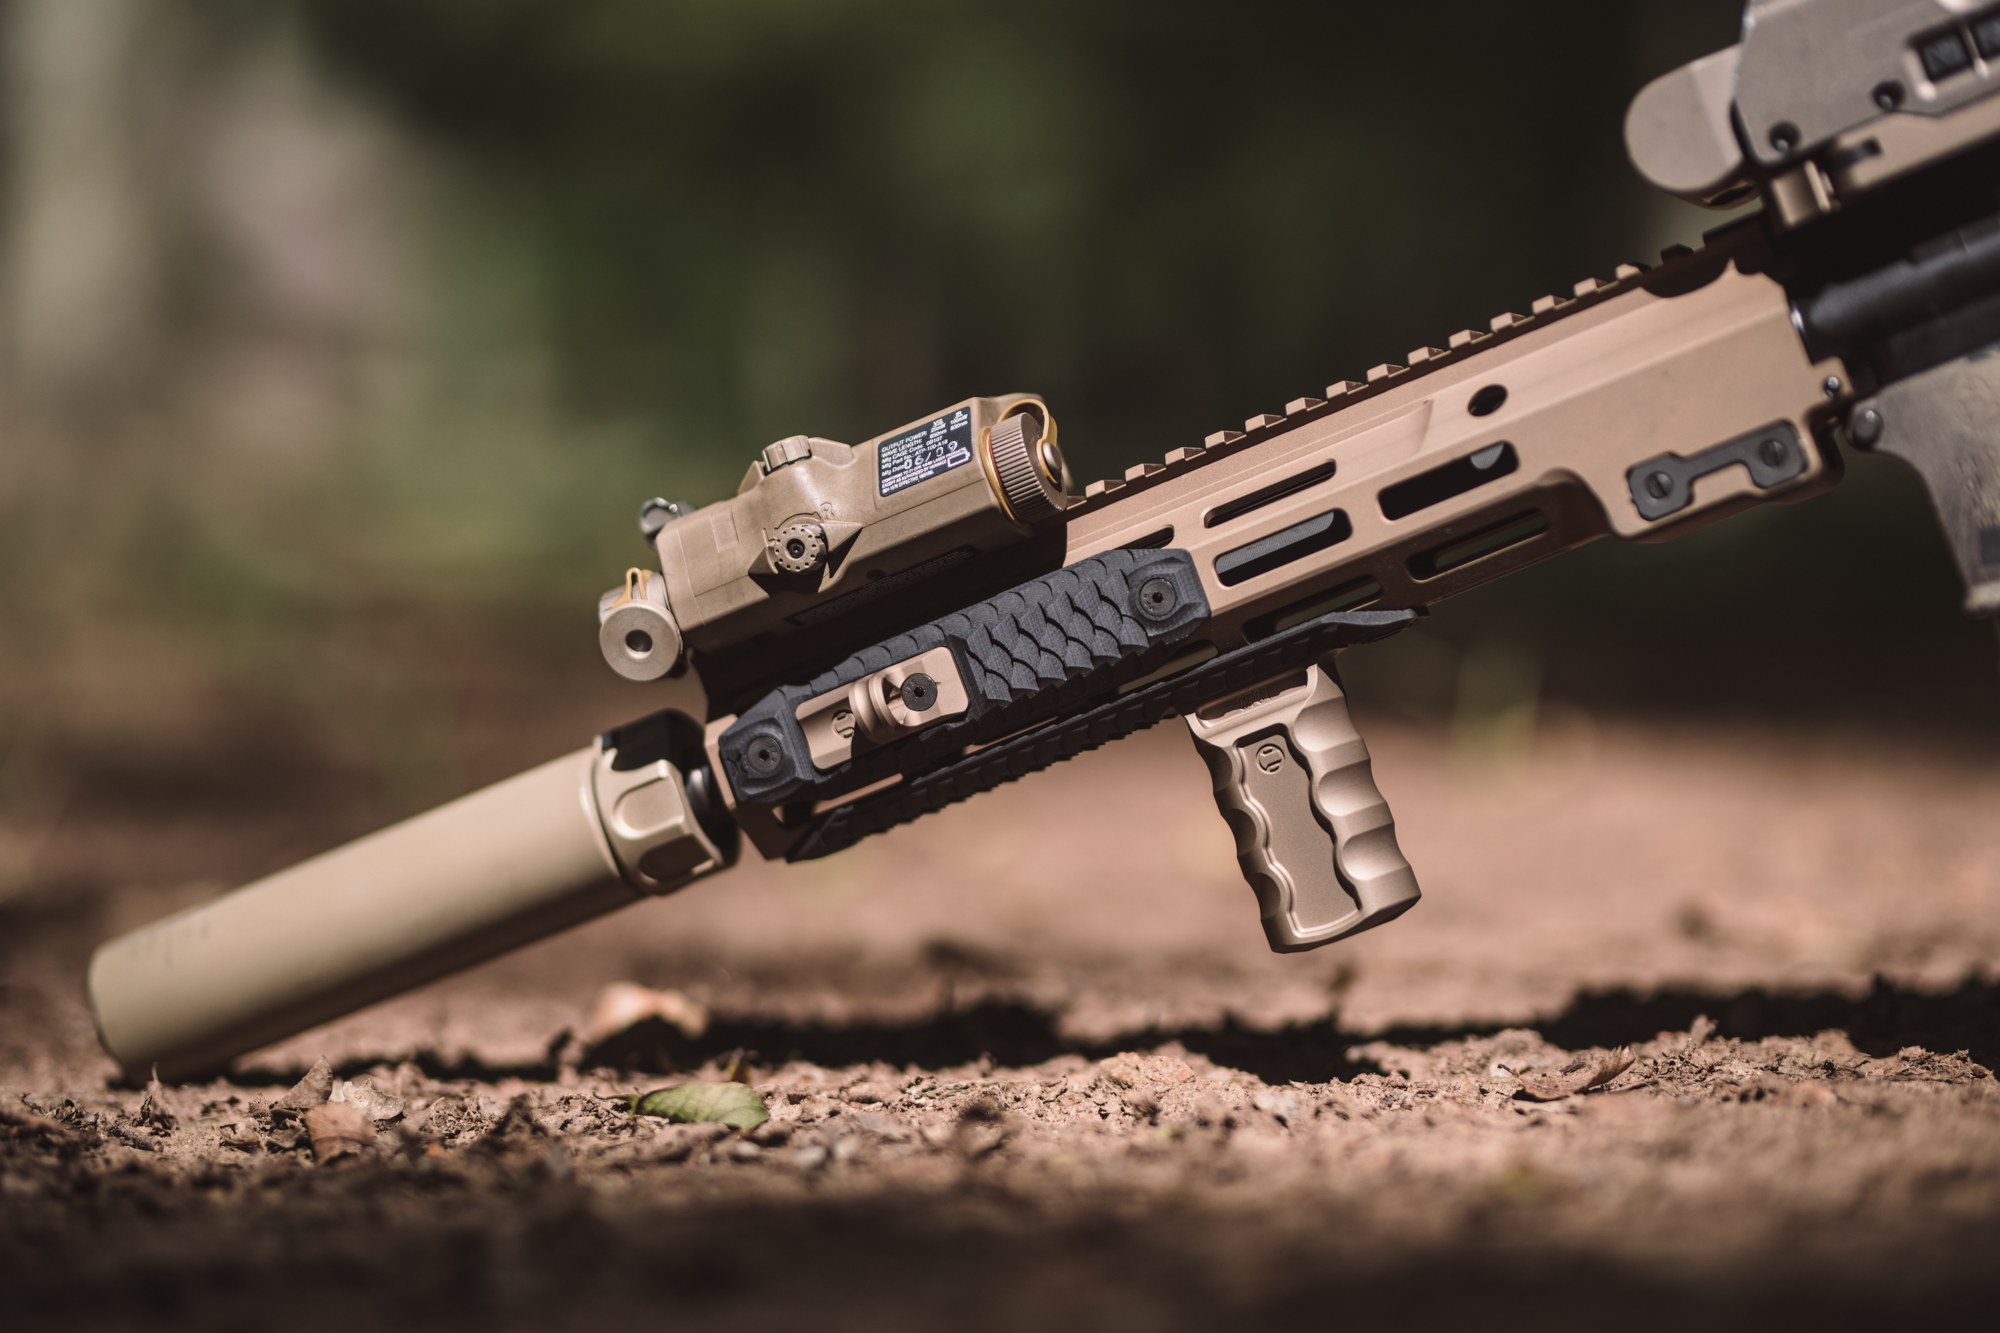
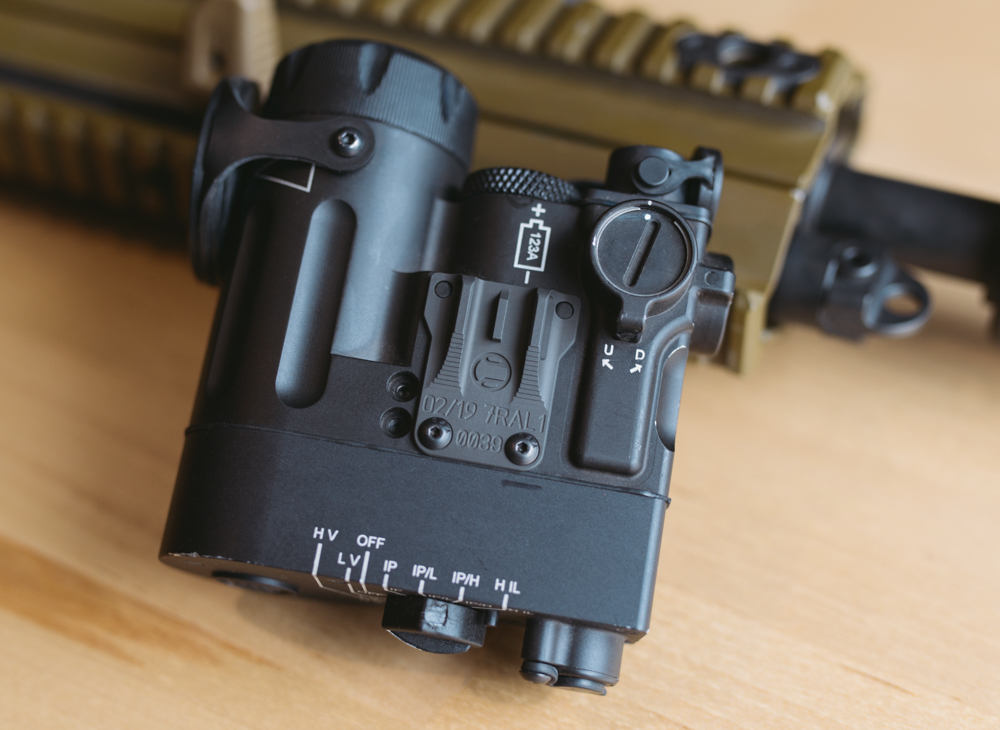
If you have a laser sight module, you can even mount a front sight post directly to the module itself with our LEAF front sight! Designed to save weight and top rail space, the LEAF series for DBAL and PEQ laser units can be a great alternative to other backup front-site options available. Space on the top rail has become even more of a premium as shorter AR-15 Pistol configurations leave limited space for complementary AR15 accessories like pressure pads. Zeroed out of the box for the 50/200 yard range, the LEAF series makes setting up a co-witness easy, merely needing to adjust for windage.
II. Zero Your Iron Sights
Your co-witness will be useless if your iron sights aren’t properly zeroed. Make sure they are zeroed at the range you usually shoot at, and make any adjustments now before you add an optic.
III. Mount Your Optic
Place your optic, like a red dot or reflex sight, on your rifle. Make sure that you can clearly see your front sight post through your optic. In some cases, you might need a riser for your iron sights, or your optic to make sure that both can be seen clearly. Once it’s in a comfortable position for you, you’ll need to adjust the reticle until it is in line with your iron sights. This can be tricky if you’re juggling the rifle while you’re adjusting the optic. You might consider using a bipod, lead sled, or sandbags while you work.
Finally, test fire a few rounds with the optic to make sure it’s zeroed along with your iron sights.
Iron Sights For Your AR-15
When space is at a premium on your AR-15, you have to get creative in how you mount your sights. That’s why RailScales offers our LEAF iron sights. Designed for ATPIAL series and D-Bal & PEQ15 lasers, the LEAF eliminates the need for a dedicated front sight. Instead, your front sight is conveniently mounted directly to the laser itself. This saves space and weight, both of which are at a premium on your rifle.
The LEAF sights for the Steiner DBAL and L3 Harris ATPIAL lasers are made to fit directly to the units or just under them on the rail giving you back rail space and keeping the sight line normal. Out of the box on every LEAF is a 50 meter/200 meter zero applied to the sight. This allows you to put the LEAF on your laser unit, dial in windage on the rear sight and hit targets within one to two rounds. The LEAF also allows for quick zero of your main sight, whether it be a red dot or holographic. For an LVPO you will need to have a true 1x power to make this method viable. This method allows for less time wasted zeroing and more time using the rifle. But lets be honest and say that anytime we are using the rifle is a good time!
Order your high-end AR-15 accessories from RailScales now!

